Control Redesign
A fundamental building block of interaction design, controls are designed to be conduits between a user’s intention and a system’s ability to understand and act on that intent. I want to understand how users make sense of the interfaces that mediate their intent with system capability.
During the design process I consider the user’s intent, context, behavior, environment and physical limitations, and apply knowledge of human perception to create controls that are elegant, intuitive and easily learned.
During the design process I consider the user’s intent, context, behavior, environment and physical limitations, and apply knowledge of human perception to create controls that are elegant, intuitive and easily learned.

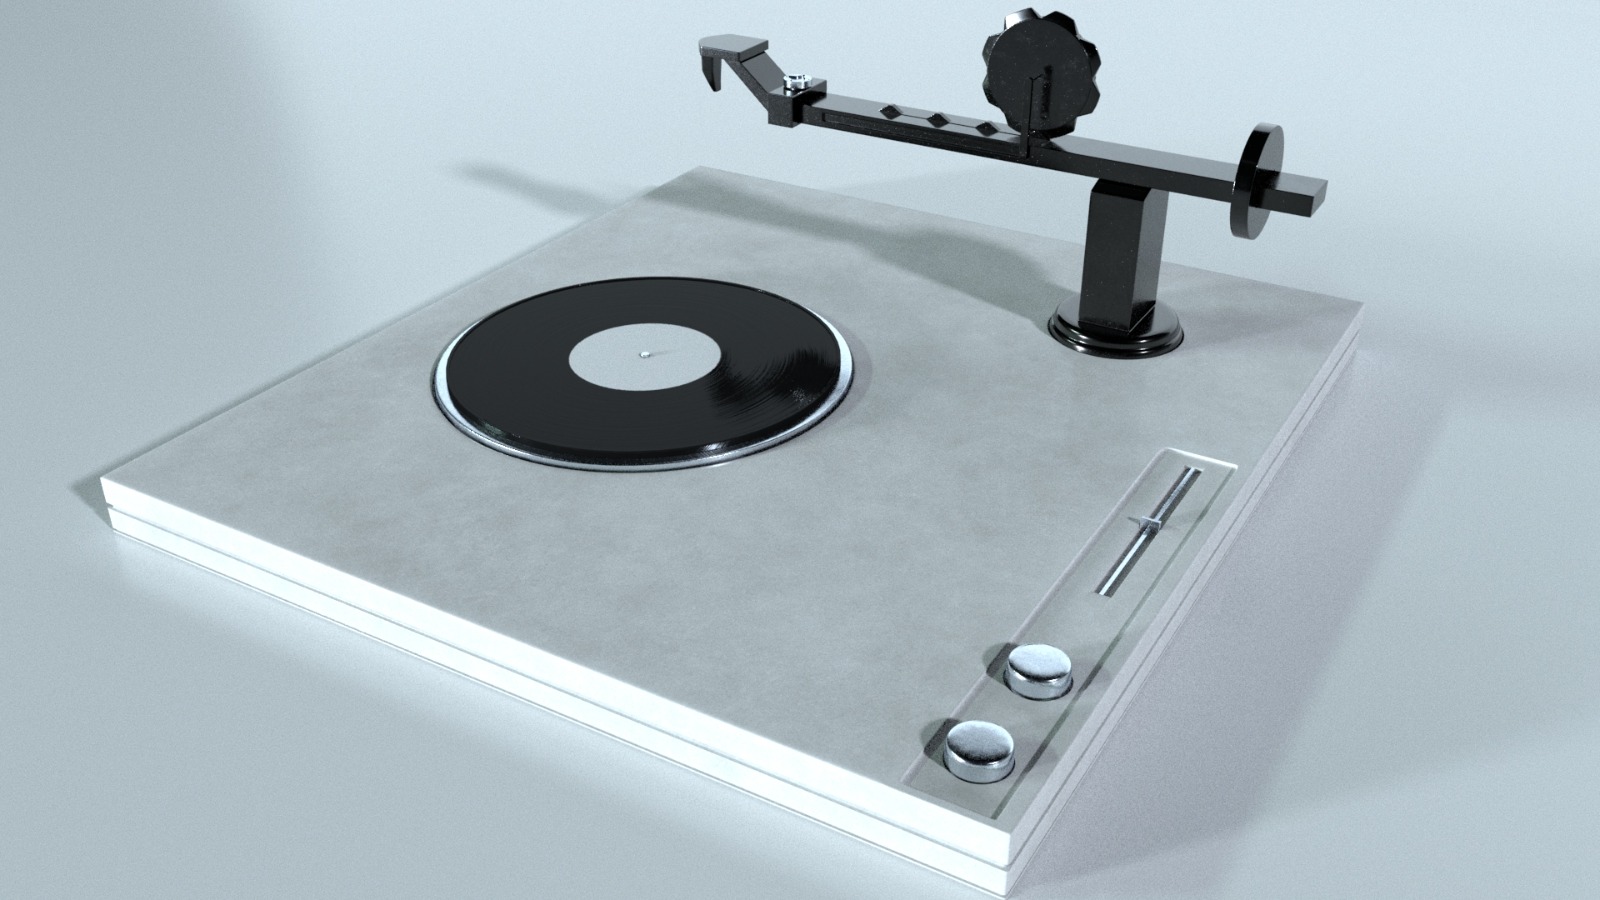
Problem:
Every time, people play a record, the needle presses down into the grooves, and then it plays the music. Users need to be careful.
Because of the weight of the record needle is too heavy, it’s gonna destroy their record grooves and the music contained within them.
On the other hand, if their tracking force is too light, the needle will jump out of the groove and possibly scratch the record itself.
Standard setting process:
1. Rest tonearm- user need adjust the counterweight until the tonearm looks more or less balanced.
2. Adjust the weight per audio needs. If it’s over 3.5 garms, it’s too heavy and it’s gonna
carve up these grooves, but it under 3.5 will be safe. User need use their digital gram scale to measure and adjust counterweight.

Iteration 1
Components:
And then I looked at the internal structure of the phonograph to see how the sound came out, how it vibrated, how the sound was transmitted through the signal to the amplifier and the function of each of the internal components. There are 4 basic components of record player: turntable, preamp, amplifer and speaker.
In the first week, I tried to solve the problem of sound quality and volume, and tried to find the connection between turntable and amplifer.
There's also the connection between adjusting the weight and the sound.

Version one:
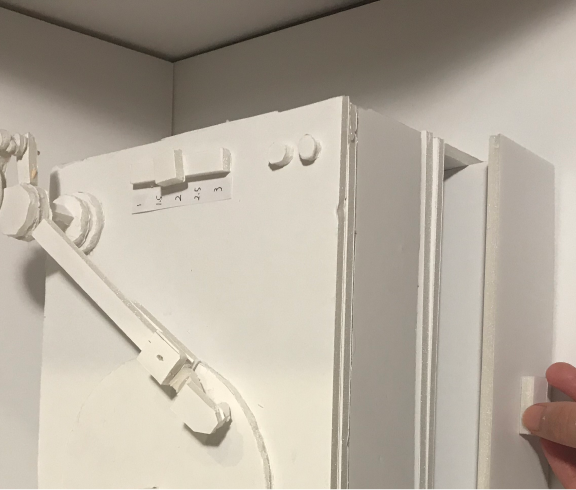
In my first prototype, I focused on two points. The first is the weight and the second is the internal amplifier. But the feedback I get is that I think of the Wand as a control, adding or removing weight.
In my first prototype, I focused on two points. The first is the weight and the second is the internal amplifier. But the feedback I get is that I think of the Wand as a control, adding or removing weight.
Iteration 2
How to adjust:
I kept watching the video, watching the steps professionals take to adjust their weight and observing their habits. See how they do the first step from setting up the Wand to keeping it balanced, to measuring and regulating the weight. The other thing is to see if there are other ways that I can learn from.
I kept watching the video, watching the steps professionals take to adjust their weight and observing their habits. See how they do the first step from setting up the Wand to keeping it balanced, to measuring and regulating the weight. The other thing is to see if there are other ways that I can learn from.

Physics:
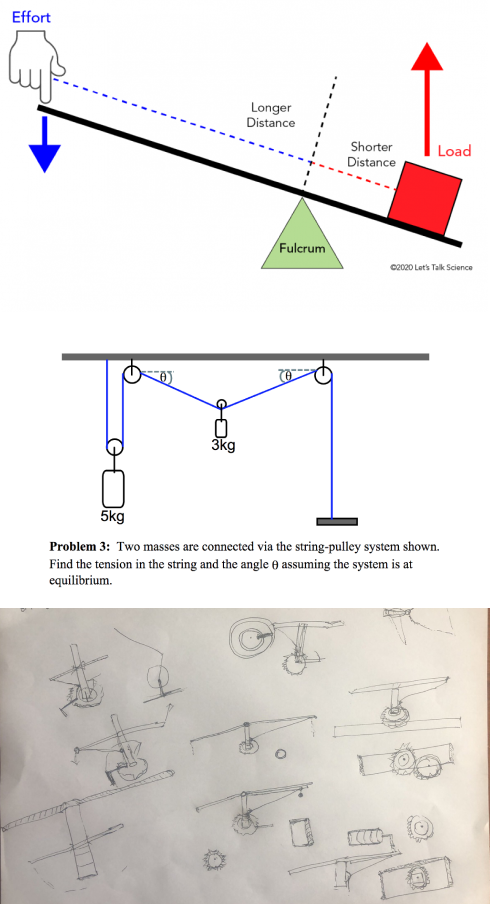
1. Principle of the lever
2. Pulling force (Connect via the string-pully system. Find the tension in the string and the angle.)
1. Principle of the lever
2. Pulling force (Connect via the string-pully system. Find the tension in the string and the angle.)
Version Two:
In the first picture I used the resistance force and the effort force to increase or decrease the weight to keep balance. Each square should be a round magnet. This is only used when measuring weight and does not affect aesthetics. The second picture is using pulling force. Through Critique, I learned that the next step should be to focus on "precision" so that the user can view it and get the exact number whenever they need.
In the first picture I used the resistance force and the effort force to increase or decrease the weight to keep balance. Each square should be a round magnet. This is only used when measuring weight and does not affect aesthetics. The second picture is using pulling force. Through Critique, I learned that the next step should be to focus on "precision" so that the user can view it and get the exact number whenever they need.
Iteration 3
References:
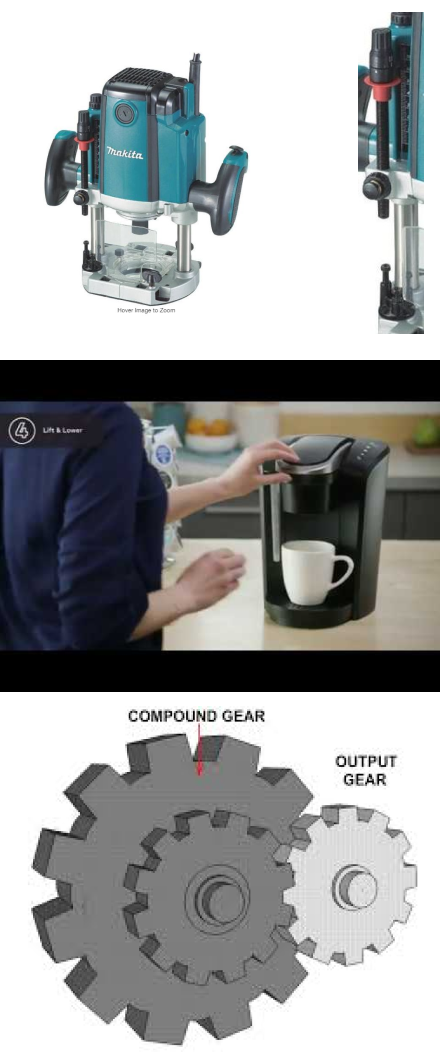
Makita Router, coffee maker handle and gear. My goal is to make the control has directly give consequences, precise and intutive. I got the reference and tried to look at it deeply to understand how does the mechanism to match with user’s intention. I have a same coffee maker and I noticed the handle bar could be me reference.
Makita Router, coffee maker handle and gear. My goal is to make the control has directly give consequences, precise and intutive. I got the reference and tried to look at it deeply to understand how does the mechanism to match with user’s intention. I have a same coffee maker and I noticed the handle bar could be me reference.
Sketch:
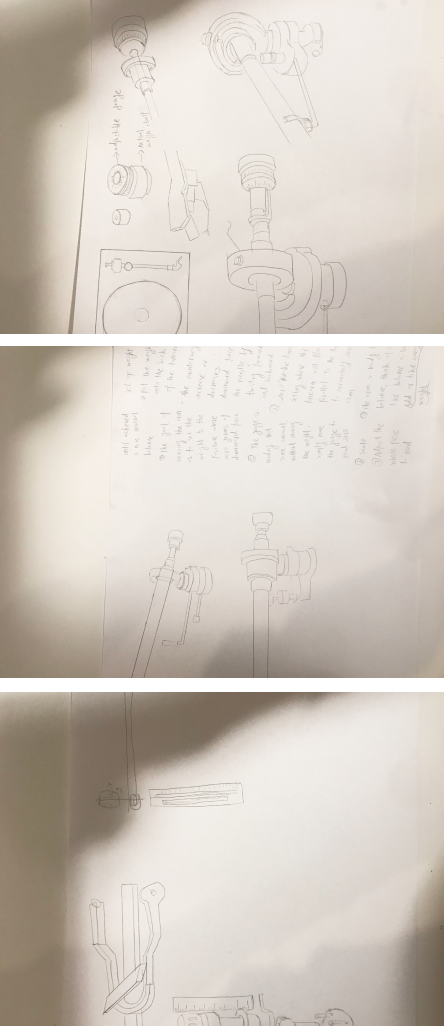
I tried to sketch and understand the structure inside, understand the principle of control and think about how to draw lessons from it.
I tried to sketch and understand the structure inside, understand the principle of control and think about how to draw lessons from it.
Version Three:
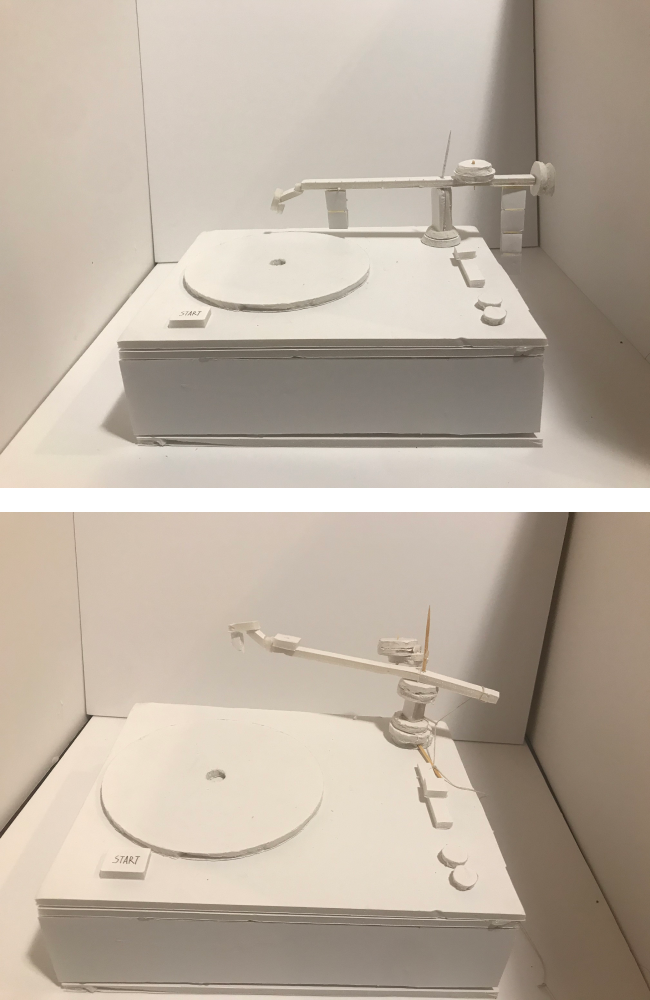
When I consider that the first step for a user to use a phonograph is to make the Wand balanced, I solve the principle of using a coffee machine handle. The handle is a signal to remind the user to pull back on instinct, and counterweight is automatically pushed to zero to achieve balance.
The second chart is marked with the measurements. When the user knows the weight he needs, adjust the precise weight and the color prompts.
The third picture is when I was drawing the scale, I thought that gears could also be used as part of the control. Each gear on wand represents a scale. User can move another gear to move, accurate weight.
